How to connect esp32 on WiFi
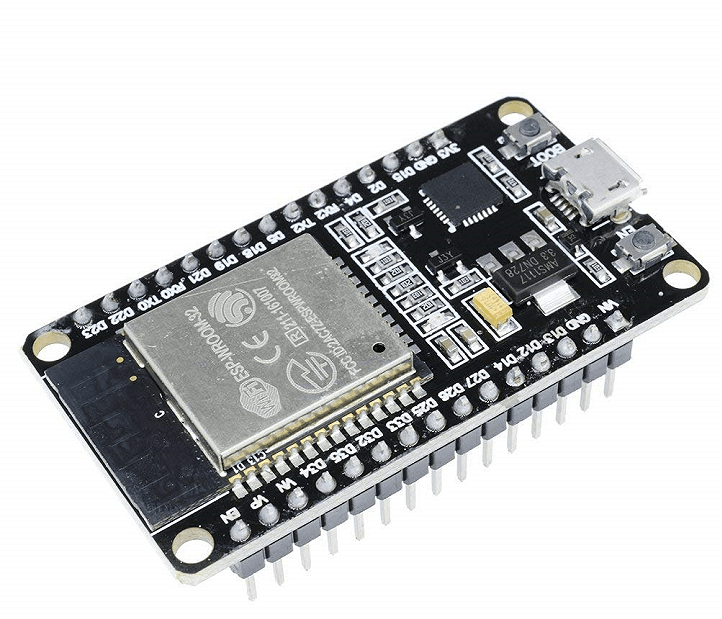
Components used:
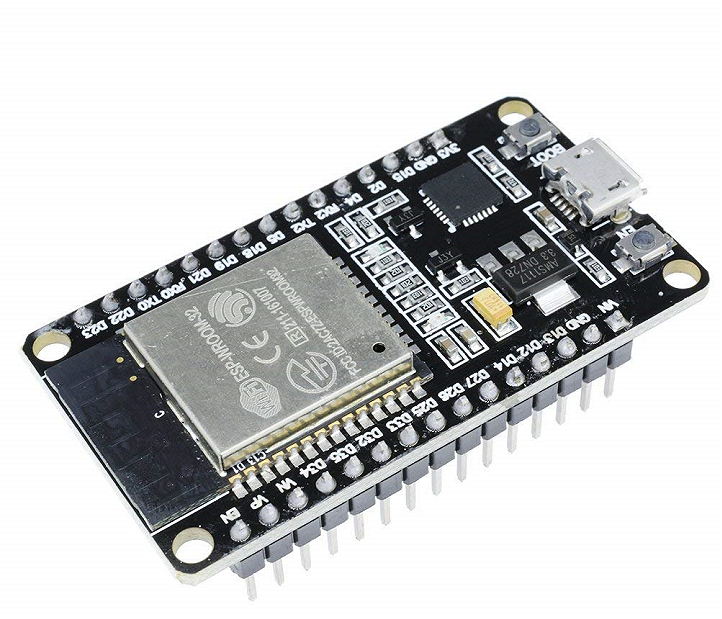 ESP32 ESP-32 Wireless WiFi Bluetooth Development Board
smartphone
or any other device that can shared WiFi
ESP32 ESP-32 Wireless WiFi Bluetooth Development Board
smartphone
or any other device that can shared WiFi
📖 Overview
Welcome to this course where you will learn how to connect your ESP32 board to a WiFi network. This is an essential step in many IoT projects, as it allows your device to communicate with other devices and servers over the internet. By the end of this course, you will be able to connect your ESP32 to a WiFi network using a smartphone or any other device that can share WiFi.
In this course, you will learn the basics of WiFi connectivity and how to use the ESP32's built-in WiFi capabilities. You will learn how to write code to connect to a WiFi network, handle connection errors, and troubleshoot common issues. You will also learn how to use the ESP32's WiFi libraries and functions to simplify the connection process.
The skills you learn in this course will be useful in a wide range of projects, such as home automation, remote monitoring, and IoT device control. You will be able to use your ESP32 to connect to the internet and interact with other devices and services, opening up a world of possibilities for your projects. Some examples of projects you can build with WiFi-connected ESP32 include:
- Smart home devices that can be controlled remotely
- Environmental monitoring systems that can send data to the cloud
- IoT devices that can receive updates and commands over the internet
By the end of this course, you will have a solid understanding of how to connect your ESP32 to a WiFi network and be ready to start building your own WiFi-enabled projects. Whether you are a beginner or an experienced maker, this course will provide you with the skills and knowledge you need to take your projects to the next level.
🔌 Components & Wiring Guide
Components & Wiring Guide
The following components are required to connect the ESP32 to WiFi:- ESP32: a microcontroller board with WiFi and Bluetooth capabilities
- Smartphone or other WiFi-enabled device: to share WiFi network and configure the ESP32
- USB cable: to connect the ESP32 to a computer for programming and power supply
- Breadboard and jumper wires: for connecting the ESP32 to other components (optional)
- Power source: to power the ESP32 (optional, can be powered via USB)
| Component | Connection |
|---|---|
| ESP32 | Connect to computer via USB, and to breadboard and other components (if using) via jumper wires |
| Smartphone or other WiFi-enabled device | Connect to WiFi network and configure ESP32 |
| USB cable | Connect ESP32 to computer |
| Breadboard and jumper wires | Connect ESP32 to other components (if using) |
| Power source | Connect to ESP32 (if not powering via USB) |
🛠️ Step-by-Step Guide
Introduction to Connecting ESP32 to WiFi
In this tutorial, we will guide you through the process of connecting your ESP32 board to a WiFi network. This is a fundamental step in utilizing the ESP32's capabilities in your projects.
Step 1: Setting Up Your Hardware
To begin, ensure you have the following hardware components: an ESP32 board, a smartphone or any device that can share WiFi, and a USB cable for programming the ESP32. Familiarize yourself with the ESP32 board's layout, noting the USB port, reset button, and any other relevant features.
Step 2: Wiring Recap
For most ESP32 boards, you won't need to do any wiring to connect to WiFi since the WiFi module is integrated into the ESP32 chip itself. However, if you're using external components, ensure they are properly connected according to your project's requirements. Typically, you'll only need to connect your ESP32 to your computer via a USB cable for programming.
Step 3: Installing Necessary Software
To program your ESP32, you'll need to install the Arduino IDE or another compatible development environment on your computer. Download and install the Arduino IDE from the official Arduino website. Additionally, you'll need to install the ESP32 board package in the Arduino IDE. This can be done by going to File > Preferences, and in the "Additional Boards Manager URLs" field, you add https://raw.githubusercontent.com/espressif/arduino-esp32/gh-pages/package_esp32_index.json, then click "OK" and navigate to Tools > Board > Boards Manager and search for "ESP32" to install it.
Step 4: Uploading Firmware
Open the Arduino IDE and create a new project or open an existing one designed for ESP32 WiFi connectivity. A simple example to start with is the "WiFi" example that comes with the ESP32 board package. Go to File > Examples > WiFi > WiFiScan. Select your ESP32 board from the Tools > Board menu, and select the appropriate port. Then, click the "Upload" button to upload the sketch to your ESP32.
Step 5: Testing WiFi Connection
After uploading the firmware, open the Serial Monitor in the Arduino IDE by going to Tools > Serial Monitor or press Ctrl+Shift+M. Set the baud rate to match what's specified in your code (usually 115200). The ESP32 will scan for available WiFi networks and list them in the Serial Monitor. To connect to a specific network, you'll need to modify the WiFi example code to include your network's SSID and password.
Step 6: Connecting to Your WiFi Network
Modify the WiFi example sketch to include your WiFi network's name (SSID) and password. Use the WiFi.begin(ssid, password) function to connect to your network. Upload the modified sketch to your ESP32 and observe the Serial Monitor for connection status messages. If everything is set up correctly, your ESP32 should now be connected to your WiFi network.
Step 7: Troubleshooting Tips
If you encounter issues connecting to WiFi, ensure your ESP32 is properly powered, and the USB connection is secure. Check that your WiFi network's SSID and password are correctly entered in the sketch. If you're still having trouble, try resetting the ESP32 board or reinstalling the ESP32 board package in the Arduino IDE. Also, ensure that your WiFi network is operational and accessible to other devices.
Conclusion
Connecting your ESP32 to WiFi is a straightforward process that opens up a wide range of possibilities for IoT and embedded systems projects. By following these steps and practicing with different sketches and projects, you'll become proficient in utilizing the ESP32's WiFi capabilities to create innovative and connected devices.
💻 Sample Code
#include <WiFi.h>

// replace with your WiFi credentials
const char* ssid = "your_wifi_ssid";
const char* password = "your_wifi_password";

void setup() {
  Serial.begin(115200); // initialize serial communication at 115200 baud rate
  WiFi.mode(WIFI_STA); // set WiFi mode to station (connect to existing network)
  WiFi.begin(ssid, password); // connect to WiFi network
  while (WiFi.status() != WL_CONNECTED) { // wait for connection
    delay(1000); // wait for 1 second
    Serial.println("Connecting to WiFi.."); // print connection status
  }
  Serial.println("Connected to the WiFi network"); // print connection success
  Serial.println("IP address: "); // print ip address
  Serial.println(WiFi.localIP()); // print local ip address
}

void loop() {
  // put your main code here, to run repeatedly:
}
📝 Check Your Understanding
1. What is the primary function of the WiFi library in the ESP32 board?
   a) To establish a Bluetooth connection
   b) To read sensor data
   c) To connect to a WiFi network
   d) To control the onboard LED
   Answer: c

2. Which of the following is a required parameter when connecting to a WiFi network using the ESP32?
   a) Password and username
   b) SSID and password
   c) IP address and subnet mask
   d)Gateway and DNS
   Answer: b

3. How do you initialize the WiFi module on the ESP32 in the Arduino IDE?
   a) Using the Serial.begin() function
   b) Using the WiFi.begin() function
   c) Using the pinMode() function
   d) Using the digitalWrite() function
   Answer: b

4. What happens if the ESP32 is unable to connect to the specified WiFi network?
   a) It will automatically connect to a different network
   b) It will restart the board
   c) It will print an error message to the serial monitor
   d) It will do nothing and continue running the code
   Answer: c

5. What is the purpose of the WiFi.status() function in the ESP32 code?
   a) To get the current WiFi signal strength
   b) To connect to a WiFi network
   c) To check the status of the WiFi connection
   d) To disconnect from a WiFi network
   Answer: c
Need the Components for This Project?
If you don't already have the components listed above, you can buy genuine Arduino, ESP32, Raspberry Pi, sensors, and other electronic components from SoftTech Supply Shop, with fast delivery across Kigali and other parts of Rwanda.
← Browse more Arduino & IoT tutorialsRelated Tutorials
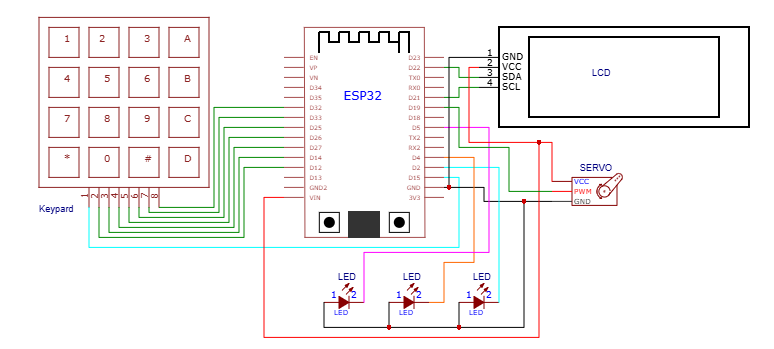
How to build an ESP32-based door access control system using keypad for password authentication
ESP32 ESP-32 Wireless WiFi Bluetooth Development Board, 4 * 4 Matrix Array Matrix Keypad, SG90 9g Mini Micro Servo Motor, 16x2LCD Display with I2C Interface, 3MM LED Red
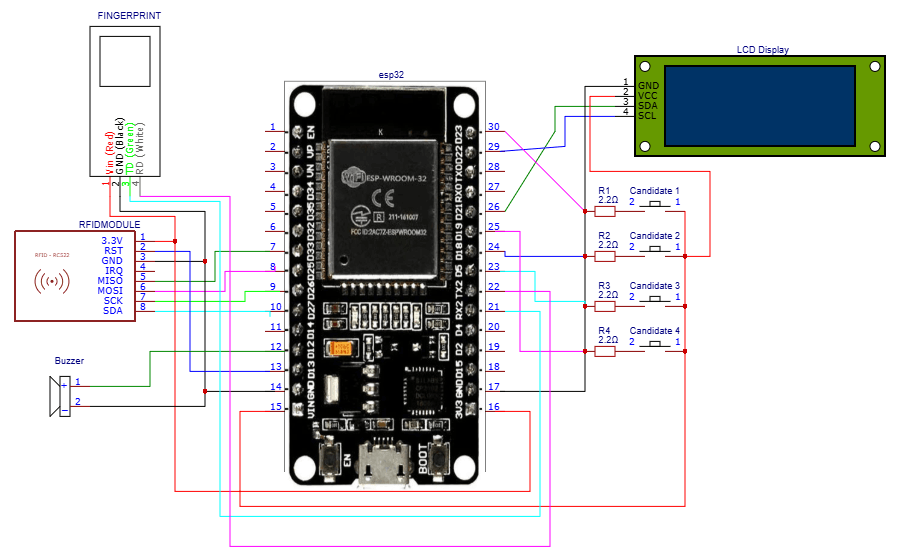
How to build an ESP32-based electronic voting system
ESP32 ESP-32 Wireless WiFi Bluetooth Development Board, 16x2LCD Display with I2C Interface, 5v active buzzer, RFID Reader Module 13.56Mhz, Push Button with cap, AS608 Fingerprint Reader Sensor Module Optical
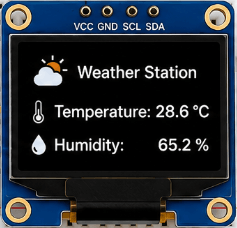
Build a Wi-Fi Weather Station with ESP32
ESP32 ESP-32 Wireless WiFi Bluetooth Development Board, DHT22 Digital Temperature & Humidity Sensor Module, 0.96" Inch Blue I2C IIC OLED LCD Module4pin, Breadboard 830 Point Solderless, Male to Female jumper wires
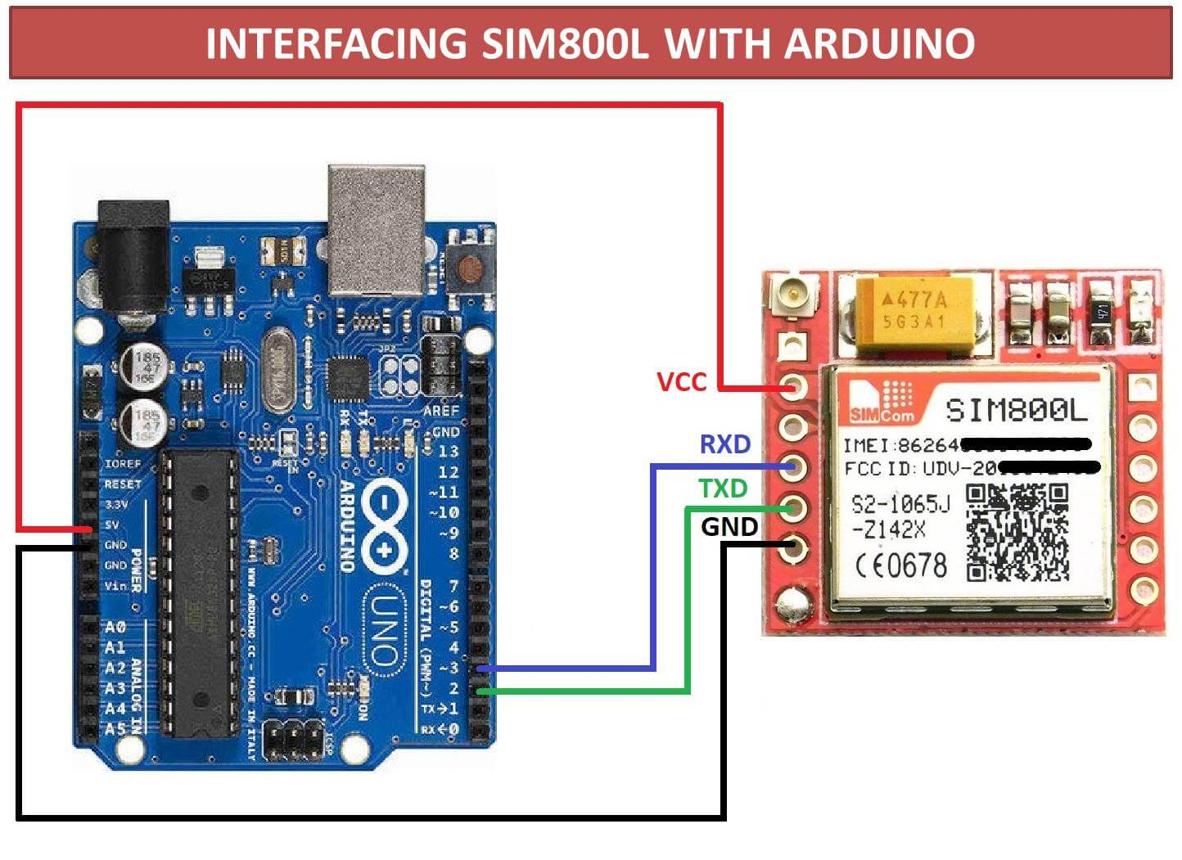
How to connect GSM SIM800L with Arduino Uno to send an SMS or make a Call
Arduino UNO R3 removable IC Chip with USB CABLE, Smallest SIM800L GPRS GSM, Male to Female jumper wires