How to use XM-18S Egg Incubator Controller Full Automatic Control
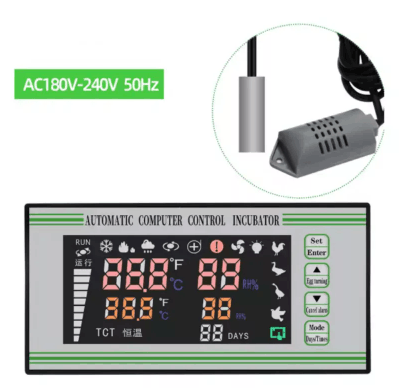
Components used:
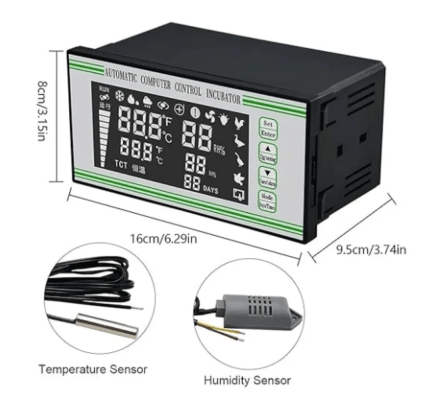
📖 Overview
Welcome to this course where you will learn how to use the XM-18S Egg Incubator Controller Full Automatic Control to build your own incubator from home. This project is perfect for beginners who want to explore the world of IoT and embedded systems while creating a useful device for breeding chickens, ducks, or other birds. By the end of this course, you will have a fully functional egg incubator that can automatically control temperature, humidity, and turning, giving you a high hatch rate and healthy chicks.
The XM-18S Egg Incubator Controller is a powerful and easy-to-use device that can be used to build a variety of incubators. In this course, you will learn how to connect the controller to various sensors and actuators, write code to control the incubation process, and troubleshoot common issues. You will also learn about the importance of temperature, humidity, and turning in the incubation process and how to optimize these parameters for different types of birds.
Some of the key topics covered in this course include:
- Introduction to the XM-18S Egg Incubator Controller and its features
- Connecting the controller to sensors and actuators
- Writing code to control the incubation process
- Troubleshooting common issues and optimizing incubation parameters
By building your own incubator, you will not only gain hands-on experience with IoT and embedded systems, but you will also be able to hatch healthy chicks and start your own backyard flock. This course is perfect for anyone interested in poultry breeding, IoT, and embedded systems, and is a great way to learn new skills while creating a useful and fun project.
🔌 Components & Wiring Guide
Components & Wiring Guide
The XM-18S Egg Incubator Controller Full Automatic Control requires the following components:- XM-18S controller: main control unit for the incubator
- Temperature sensor: monitors the temperature inside the incubator
- Humidity sensor: monitors the humidity inside the incubator
- Heating element: heats the incubator to the desired temperature
- Cooling fan: cools the incubator to the desired temperature
- Egg turning motor: turns the eggs at regular intervals
- Power supply: provides power to the incubator
| Component | Connection |
|---|---|
| Temperature sensor | XM-18S controller |
| Humidity sensor | XM-18S controller |
| Heating element | XM-18S controller |
| Cooling fan | XM-18S controller |
| Egg turning motor | XM-18S controller |
| Power supply | XM-18S controller and other components |
🛠️ Step-by-Step Guide
Introduction to XM-18S Egg Incubator Controller
The XM-18S Egg Incubator Controller is a full automatic control system designed to regulate temperature, humidity, and turning in an egg incubator. In this tutorial, we will guide you through the process of using the XM-18S to build your own incubator from home.
Step 1: Setup and Preparation
Before starting the build process, ensure you have the following components: XM-18S Egg Incubator Controller, power supply, temperature sensor, humidity sensor, turning motor, and a suitable enclosure. Read the datasheet and user manual provided with the XM-18S to understand its features and specifications.
Step 2: Wiring the XM-18S
Connect the power supply to the XM-18S, and then connect the temperature and humidity sensors to the corresponding ports on the controller. Connect the turning motor to the output port. The wiring diagram is as follows:
- Power supply to XM-18S: VCC to VCC, GND to GND
- Temperature sensor to XM-18S: VCC to VCC, GND to GND, SIG to temperature input
- Humidity sensor to XM-18S: VCC to VCC, GND to GND, SIG to humidity input
- Turning motor to XM-18S: connect to output port
Step 3: Install and Connect the XM-18S Incubator Controller
First you need to get the incubator chamber ready. This means you have to prepare the power supply, the heating element, the cooling fan, the humidity system the egg turning motor and the temperature and humidity sensor. Next you have to put the XM-18S controller on the incubator box. Then you have to connect each part to the terminal. You have to do this according to the labels, on the wires. You have to put the temperature and humidity sensor inside the incubator where the eggs will be. You also have to install the heater and the fan to control the temperature. You need to connect the water pump or the humidifier to regulate the humidity.. You have to connect the turning motor to the mechanism that holds the eggs. After you have checked all the connections you can turn on the XM-18S controller. Then you have to make sure that the temperature and humidity readings are showing up correctly on the display of the XM-18S controller.
Step 4: Configure Settings and Start Incubation
Use the buttons on the XM-18S controller to select the required incubation mode (Chicken, Duck, Goose, Pigeon) and adjust parameters such as temperature, humidity, egg turning interval, and incubation days if needed. Before placing eggs, allow the incubator to run empty for several hours to ensure stable temperature and humidity. Once the environment is stable, place fertilized eggs on the turning tray, reset the incubation counter, close the incubator, and allow the XM-18S system to automatically manage heating, cooling, humidity, and egg turning throughout the incubation period. Regularly check water levels, egg conditions, and controller readings to ensure successful hatching.
Step 5: Troubleshooting Tips
If you encounter any issues during the build or testing process, refer to the troubleshooting guide provided below or contact us for more assistance. Common issues include:
- Temperature or humidity sensor not reading correctly: check wiring and sensor calibration
- Turning motor not working: check wiring and motor connection
- XM-18S not responding: check power supply
Conclusion
With these steps, you should be able to successfully build and use your own egg incubator using the XM-18S Egg Incubator Controller. Remember to follow proper safety precautions when working with electrical components and to refer to the user manual and datasheet for any specific instructions or guidelines.
📝 Check Your Understanding
1. What is the primary function of the XM-18S Egg Incubator Controller Full Automatic Control in a home-built incubator?
   a) To monitor temperature and humidity levels manually
   b) To automatically control temperature and humidity for optimal egg incubation
   c) To provide a power supply to the incubator
   d) To connect the incubator to the internet for remote monitoring
   Answer: b

2. Which of the following is a crucial step in wiring the XM-18S controller to your home-built incubator?
   a) Connecting the temperature sensor to the power supply
   b) Connecting the humidity sensor to the ground wire
   c) Connecting the temperature and humidity sensors to their respective input terminals on the XM-18S
   d) Connecting the fan and heater directly to the power supply without going through the XM-18S
   Answer: c

3. Does the XM-18S Egg Incubator Controller require programming to operate, and if programming is needed, which language is typically used for similar microcontroller-based systems?

   a) It does not require programming because it comes with built-in firmware
   b) It requires programming using Python before it can operate
   c) It requires programming using Arduino/C++ to control all incubation functions
   d) It requires programming using Java to configure the controller
   Answer: a

4. What is the purpose of calibrating the temperature and humidity sensors in the XM-18S Egg Incubator Controller?
   a) To increase the accuracy of the sensors
   b) To decrease the power consumption of the incubator
   c) To connect the incubator to the internet
   d) To change the programming language of the XM-18S
   Answer: a

5. What should you do if the XM-18S Egg Incubator Controller Full Automatic Control displays an error message during operation?
   a) Immediately unplug the power supply to the incubator
   b) Check the wiring connections and sensor calibrations
   c) Restart the incubator without checking for any issues
   d) Ignore the error message and continue incubation
   Answer: b
Need the Components for This Project?
If you don't already have the components listed above, you can buy genuine Arduino, ESP32, Raspberry Pi, sensors, and other electronic components from SoftTech Supply Shop, with fast delivery across Kigali and other parts of Rwanda.
← Browse more Arduino & IoT tutorialsRelated Tutorials
How to connect GSM SIM800L with Arduino Uno to send an SMS or make a Call
Arduino UNO R3 removable IC Chip with USB CABLE, Smallest SIM800L GPRS GSM, Male to Female jumper wires
How to Install the Arduino IDE and Get Started on Your Computer
Computer, Internet connection, Arduino Uno R3 With USB Cable
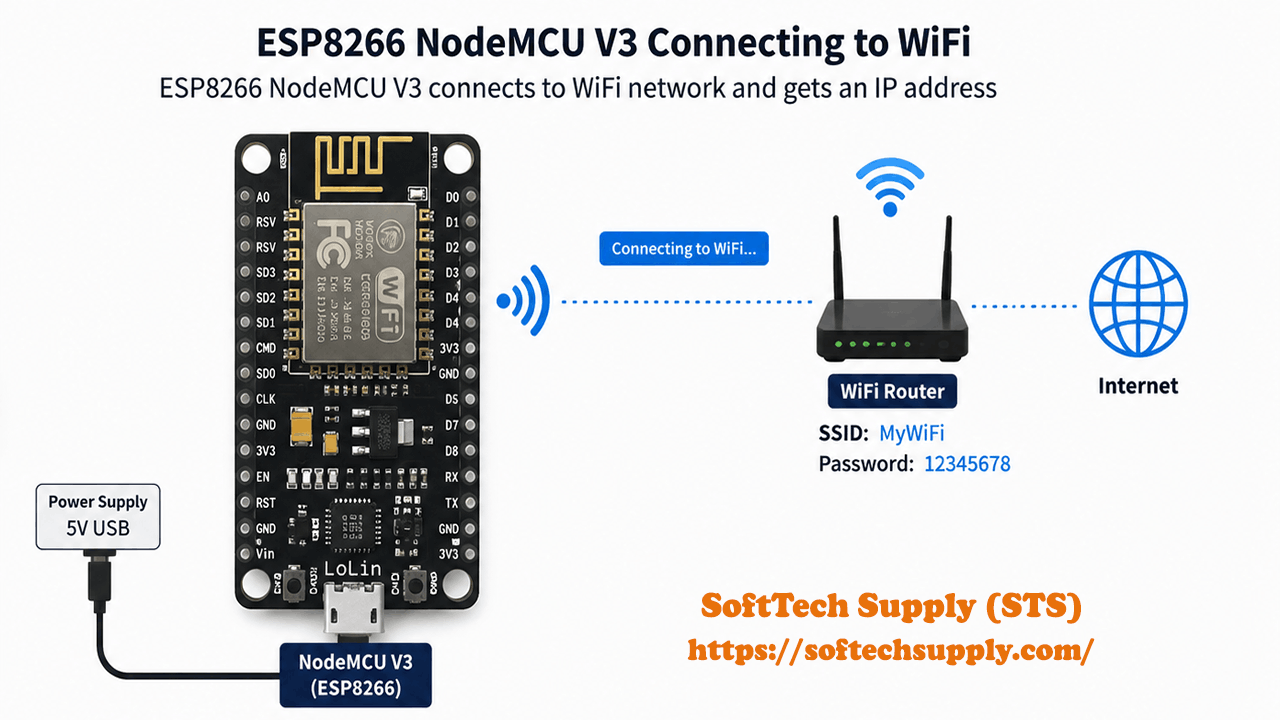
How to use ESP8266 NodeMCU V3 Wireless module to connect to WiFi
ESP8266 NodeMCU V3 Wireless module + USB cable
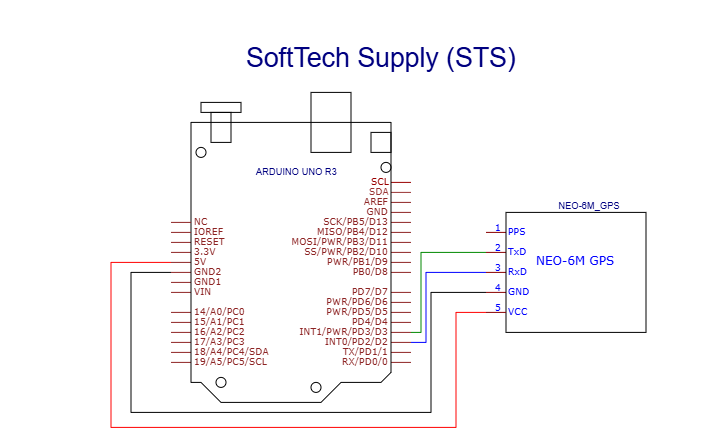
How to use ATGM336H GPS+BDS Module with Antenna with an Arduino Uno
ATGM336H GPS+BDS Module with Antenna, Arduino Uno R3 With USB Cable, Male to Male Jumper Wires, Breadboard 830 Point Solderless