How to Use the HC-SR501 PIR Motion Sensor Module with an Arduino Uno
📖 Overview
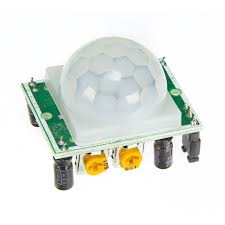
In this tutorial, students will learn how to use the HC-SR501 PIR Motion Sensor Module with an Arduino Uno to track motion. The HC-SR501 is a popular and affordable motion sensor that can be used in a variety of applications, including security systems, smart home automation, and agriculture. By the end of this tutorial, students will be able to connect the HC-SR501 to an Arduino Uno and write code to detect motion.
The project involves connecting the HC-SR501 to the Arduino Uno using jumpers and a breadboard, and then writing code to read the sensor's output. Students will learn how to configure the sensor's sensitivity and delay times, and how to use the sensor's output to control other devices, such as LEDs or relays. This knowledge can be applied to a wide range of real-world projects, including automatic lighting systems, security cameras, and smart home devices.
The skills learned in this tutorial are essential for anyone interested in building interactive and automated systems. In Rwanda and East Africa, where energy efficiency and security are major concerns, motion sensors can play a crucial role in reducing energy waste and improving safety. For example, motion sensors can be used to automatically turn off lights in empty rooms, or to trigger security cameras when motion is detected. By mastering the use of the HC-SR501 and Arduino Uno, students will be able to develop innovative solutions to these and other challenges.
Some potential applications of this technology include:
- Automated lighting systems for homes and businesses
- Security systems for detecting intruders
- Smart home devices, such as automated door locks and thermostats
- Agricultural automation, such as automated irrigation systems
🔌 Components & Wiring Guide
Components & Wiring Guide
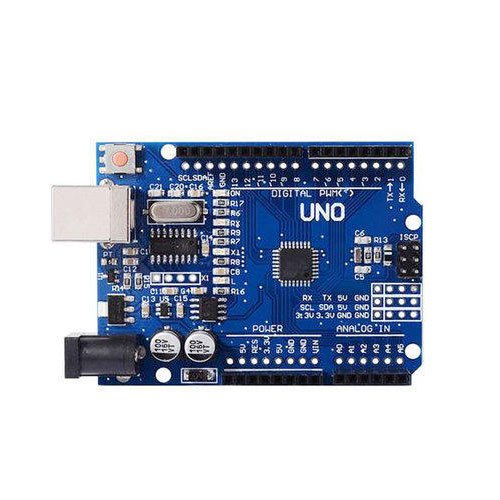
The following components are required for this project:- Arduino UNO: Microcontroller board for processing sensor data
- HC-SR501 PIR Motion Sensor Module: Infrared sensor for detecting motion
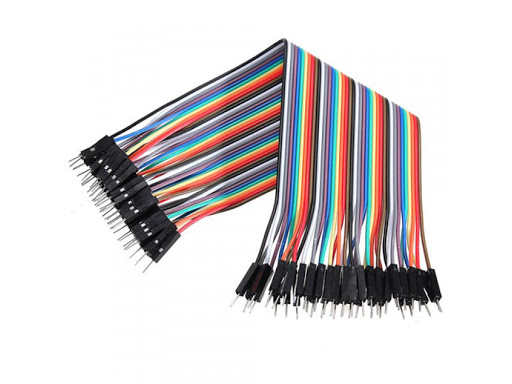
- Jumper wires: For connecting components to the breadboard and Arduino
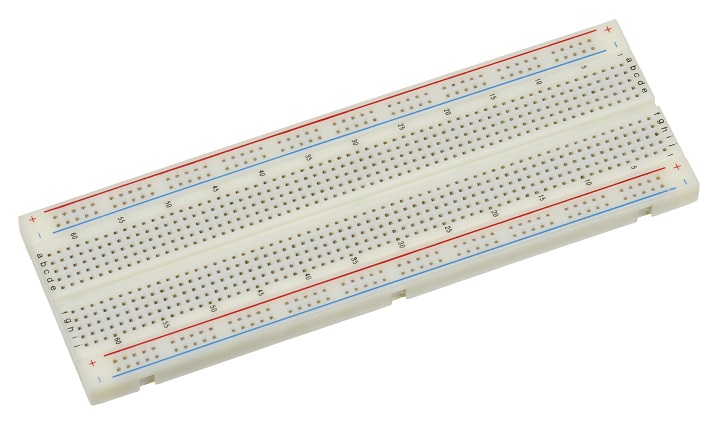
- Breadboard: For prototyping and connecting components
Wiring Summary
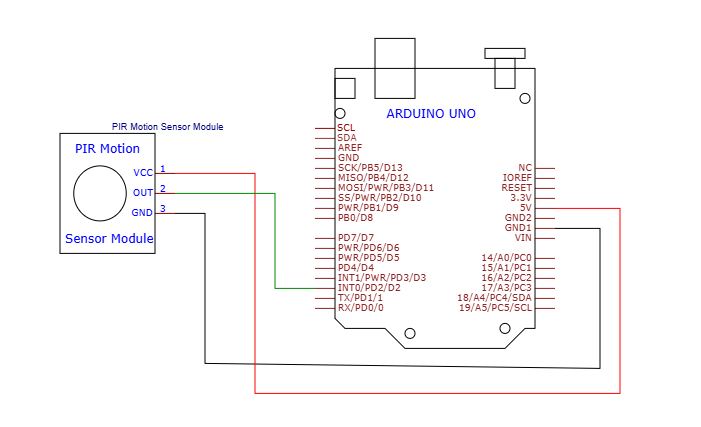
The connections can be summarized in the following table:| HC-SR501 PIR Motion Sensor Module | Arduino UNO |
|---|---|
| VCC | 5V |
| GND | GND |
| OUT | Digital Pin 2 |
🛠️ Step-by-Step Guide
Introduction to the HC-SR501 PIR Motion Sensor Module
The HC-SR501 PIR Motion Sensor Module is a widely used sensor for detecting motion. It's commonly used in security systems, automatic lighting, and other applications where motion detection is required. In this tutorial, we will learn how to use the HC-SR501 PIR Motion Sensor Module with an Arduino Uno to track motion.
Setting Up the Hardware Components
To start, you will need the following hardware components: Arduino Uno, HC-SR501 PIR Motion Sensor Module, Jumpers, and Breadboard. You can source these components from SoftTech Supply in Kigali, Rwanda. Make sure to handle the components with care to avoid any damage.
Wiring the HC-SR501 PIR Motion Sensor Module to the Arduino Uno
Now, let's connect the HC-SR501 PIR Motion Sensor Module to the Arduino Uno. The module has three pins: VCC, GND, and OUT. Connect the VCC pin to the 5V pin on the Arduino Uno, the GND pin to the GND pin on the Arduino Uno, and the OUT pin to any digital pin on the Arduino Uno (we will use digital pin 2 in this example). Use the jumpers to connect the pins.
Here's a recap of the wiring:
- VCC pin on the HC-SR501 PIR Motion Sensor Module to 5V pin on the Arduino Uno
- GND pin on the HC-SR501 PIR Motion Sensor Module to GND pin on the Arduino Uno
- OUT pin on the HC-SR501 PIR Motion Sensor Module to digital pin 2 on the Arduino Uno
Uploading the Firmware to the Arduino Uno
Now that we have the hardware setup, let's upload the firmware to the Arduino Uno. We will use a simple sketch that reads the output of the HC-SR501 PIR Motion Sensor Module and prints it to the serial monitor. You can use the following code as an example:
Create a new sketch in the Arduino IDE and add the following code:
const int motionPin = 2;Then, in the setup() function, add:
pinMode(motionPin, INPUT);In the loop() function, add:
int motionState = digitalRead(motionPin);if (motionState == HIGH) { Serial.println("Motion detected!");} else { Serial.println("No motion detected");}Upload the sketch to the Arduino Uno.
Testing the HC-SR501 PIR Motion Sensor Module
Now that we have the firmware uploaded, let's test the HC-SR501 PIR Motion Sensor Module. Open the serial monitor in the Arduino IDE and set the baud rate to 9600. Move your hand in front of the sensor to trigger it. You should see "Motion detected!" printed to the serial monitor. If you don't see anything, check your wiring and make sure the sensor is properly connected.
Troubleshooting Tips
If you're having trouble getting the HC-SR501 PIR Motion Sensor Module to work, here are some troubleshooting tips:
- Check your wiring: Make sure the VCC, GND, and OUT pins are properly connected to the Arduino Uno.
- Check the sensor's sensitivity: The HC-SR501 PIR Motion Sensor Module has a sensitivity adjustment potentiometer. Try adjusting it to see if it improves the sensor's performance.
- Check for interference: Other devices can interfere with the sensor's performance. Try moving the sensor to a different location or shielding it to see if it improves the performance.
A safety note: The HC-SR501 PIR Motion Sensor Module is a low-voltage device and does not pose any significant safety risks. However, as with any electronic device, handle it with care and avoid touching any of the pins or components.
💻 Sample Code
### Introduction to the Project
The HC-SR501 PIR Motion Sensor Module is a widely used and versatile component for detecting motion in various applications, including security systems and smart home automation. In this tutorial, we will explore how to use the HC-SR501 with an Arduino Uno to track motion.

### Hardware Setup
To begin, connect the HC-SR501 PIR Motion Sensor Module to the Arduino Uno as follows:
* VCC to 5V on the Arduino
* GND to GND on the Arduino
* OUT to any digital pin on the Arduino (in this example, we will use pin 2)

### Safety Note
When working with electronic components, ensure you handle them with care to avoid damage. The HC-SR501 PIR Motion Sensor Module operates at a safe voltage and does not involve mains voltage or high current.

### Sample Firmware

// Define the pin connections
const int pirPin = 2;  // OUT pin of the HC-SR501

void setup() {
  // Initialize the serial communication at 9600 bps
  Serial.begin(9600);
  // Set the PIR pin as an input
  pinMode(pirPin, INPUT);
}

void loop() {
  // Read the state of the PIR sensor
  int pirState = digitalRead(pirPin);

  // If the PIR sensor detects motion
  if (pirState == HIGH) {
    // Print a message to the serial monitor
    Serial.println("Motion detected!");
  } else {
    // Print a message to the serial monitor
    Serial.println("No motion detected.");
  }

  // Wait for 1 second before taking the next reading
  delay(1000);
}
📝 Check Your Understanding
1. What is the primary function of the HC-SR501 PIR Motion Sensor Module in an Arduino project?
   a) To detect temperature changes in the environment
   b) To measure the light intensity in a room
   c) To track motion and detect presence
   d) To monitor humidity levels
   Answer: c

2. How do you connect the VCC pin of the HC-SR501 PIR Motion Sensor Module to the Arduino Uno?
   a) To the 5V pin on the Arduino Uno
   b) To the 3.3V pin on the Arduino Uno
   c) To the GND pin on the Arduino Uno
   d) To any digital pin on the Arduino Uno
   Answer: a

3. In the context of an Arduino sketch, what is the purpose of using the digitalRead() function with the HC-SR501 PIR Motion Sensor Module?
   a) To set the output of a digital pin to HIGH or LOW
   b) To read the state of an analog pin
   c) To read the digital state of a pin, such as the signal from the PIR sensor
   d) To write data to the serial monitor
   Answer: c

4. What is a potential application of using the HC-SR501 PIR Motion Sensor Module in a Rwanda-based project?
   a) To automate lighting in a smart home based on occupancy
   b) To monitor soil moisture levels in an agricultural setting
   c) To track wildlife movement in a conservation area
   d) All of the above
   Answer: d

5. When working with the HC-SR501 PIR Motion Sensor Module and Arduino Uno, what safety precaution should you take into consideration?
   a) Avoid touching the sensor with wet hands
   b) Keep the module away from direct sunlight
   c) Be cautious of the low voltage used by the module and avoid overloading the circuit
   d) All of the above
   Answer: d
Need the Components for This Project?
If you don't already have the components listed above, you can buy genuine Arduino, ESP32, Raspberry Pi, sensors, and other electronic components from SoftTech Supply Shop, with fast delivery across Kigali and other parts of Rwanda.
← Browse more Arduino & IoT tutorialsRelated Tutorials
Build a Wi-Fi Weather Station with ESP32
ESP32 ESP-32 Wireless WiFi Bluetooth Development Board, DHT22 Digital Temperature & Humidity Sensor Module, 0.96" Inch Blue I2C IIC OLED LCD Module4pin, Breadboard 830 Point Solderless, Male to Female jumper wires
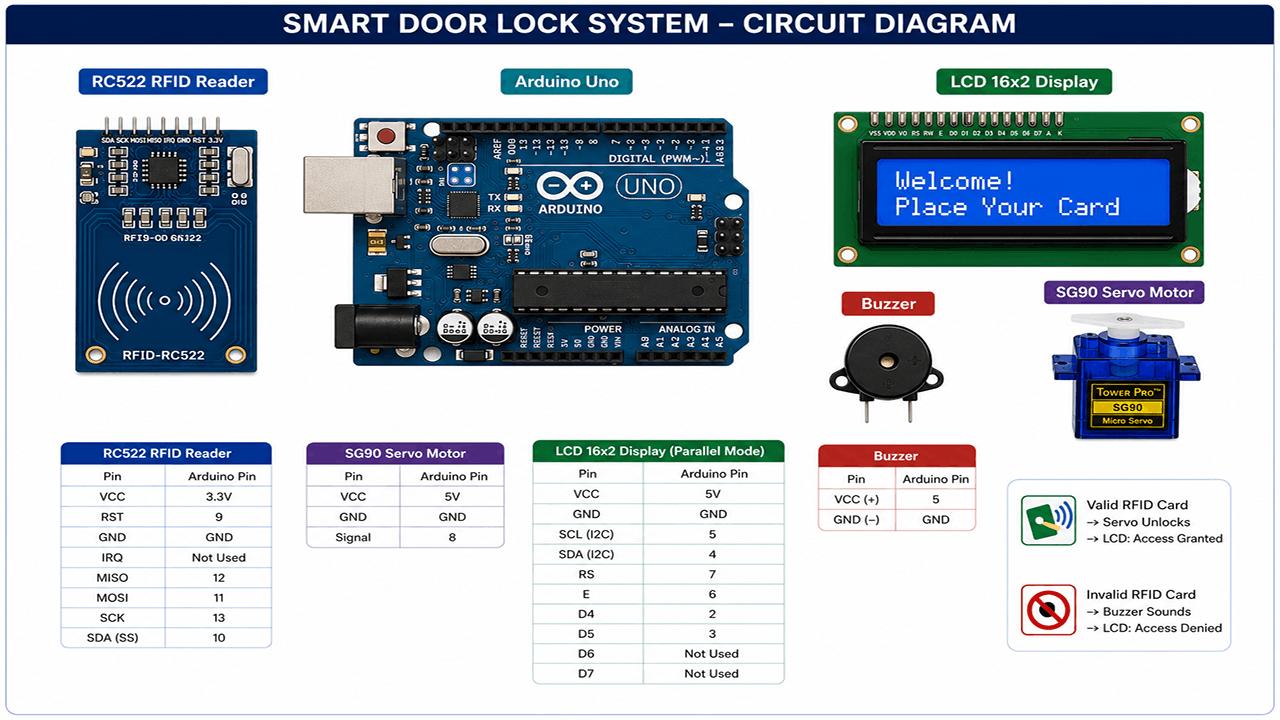
Smart Door Lock with RFID and Servo Motor
Arduino UNO R3 removable IC Chip with USB CABLE, RFID Reader Module 13.56Mhz, SG90 9g Mini Micro Servo Motor, 16x2LCD Display with I2C Interface, 5v active buzzer, Breadboard 830 Point Solderless, Male to Male Jumper Wires
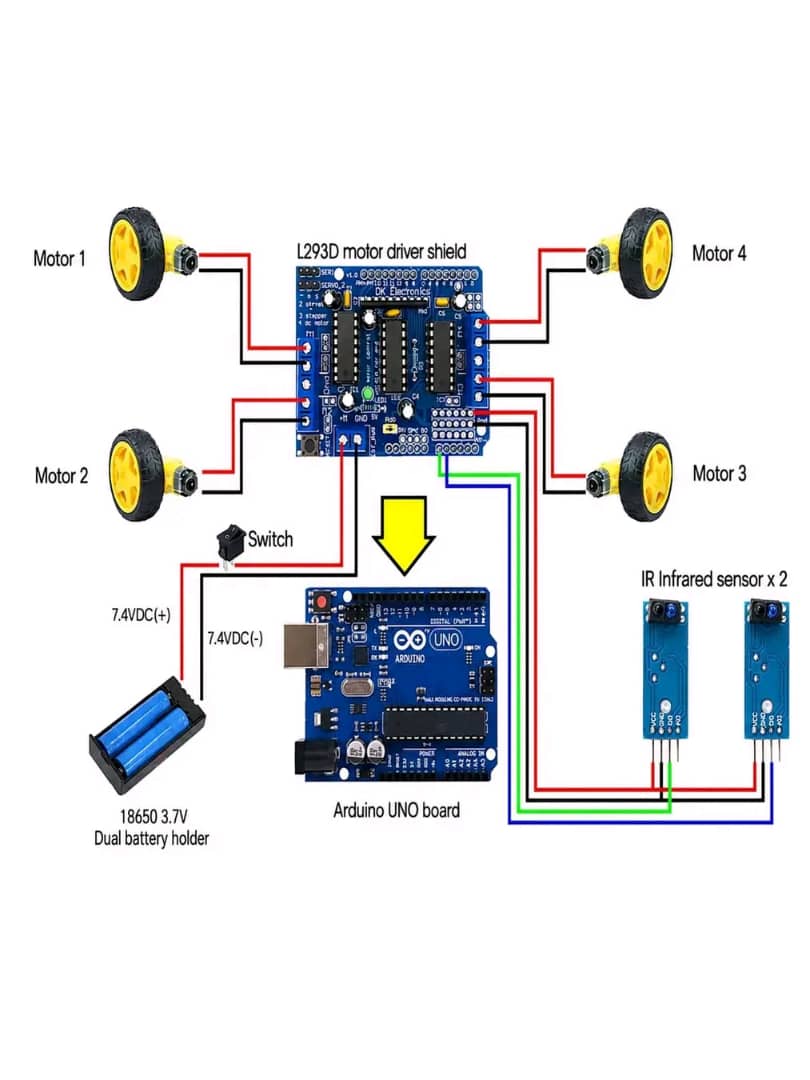
How to build a line tracking robot using Arduino UNO AND infrared sensor
Arduino Uno R3 With USB Cable, L293D Motor Driver Board, DC Gear Motor+wheels smart car set, TCRT5000 Infrared Reflective IR Photoelectric Line Track Sensor Module, 3.7V 3 Slot 18650 Battery holder, Rocker Switch Spst, 18650 3.7V 2800mAh Lithium Ion Battery
How to use ATGM336H GPS+BDS Module with Antenna with an Arduino Uno
ATGM336H GPS+BDS Module with Antenna, Arduino Uno R3 With USB Cable, Male to Male Jumper Wires, Breadboard 830 Point Solderless